
Have You Been Intimidated by Artisanal Bread Making?
Ever wondered why bakery Sourdough Starter bread has that distinctive tangy flavor and perfect chewy texture that seems impossible to recreate at home? The secret lies in mastering a sourdough starter – the living foundation of authentic sourdough bread. Despite what you might think,
creating your own starter doesn’t require professional baking experience or special equipment. This guide breaks down the process into five manageable steps that even complete beginners can follow with confidence. By the end of this post, you’ll be well on your way to crafting artisanal homemade bread recipes that rival your local bakery!
Table of Contents
Ingredients List
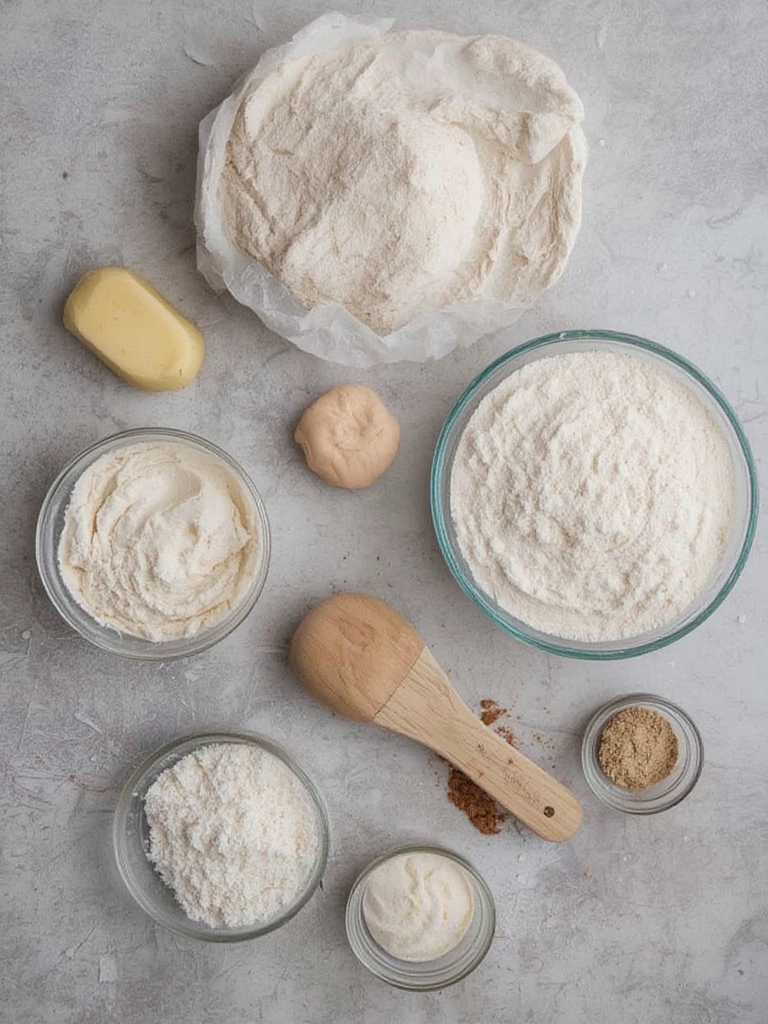
- 2 cups (250g) all-purpose flour (unbleached works best, but bleached will also work)
- 2 cups (475ml) filtered water at room temperature (chlorine can inhibit fermentation)
- 1 tablespoon honey or sugar (optional, helps jumpstart fermentation)
- 1 tablespoon whole wheat flour or rye flour (optional, contains more natural yeasts)
Substitution Options:
- If you’re gluten-sensitive, try a 50/50 mix of rice flour and buckwheat flour
- Spring water can replace filtered water if your tap water is heavily chlorinated
- Maple syrup or agave nectar can substitute for honey in the initial feeding
Timing
- Initial Creation: 10 minutes active time
- Daily Maintenance: 2-3 minutes per feeding
- Total Development Time: 5-7 days until fully active and ready for baking
- Feeding Schedule: Every 24 hours while developing, every 12 hours when active
This timing is significantly more flexible than commercial yeast recipes, which typically require precise rising windows. Your sourdough baking tips journey fits around your schedule, not the other way around!
Step-by-Step Instructions
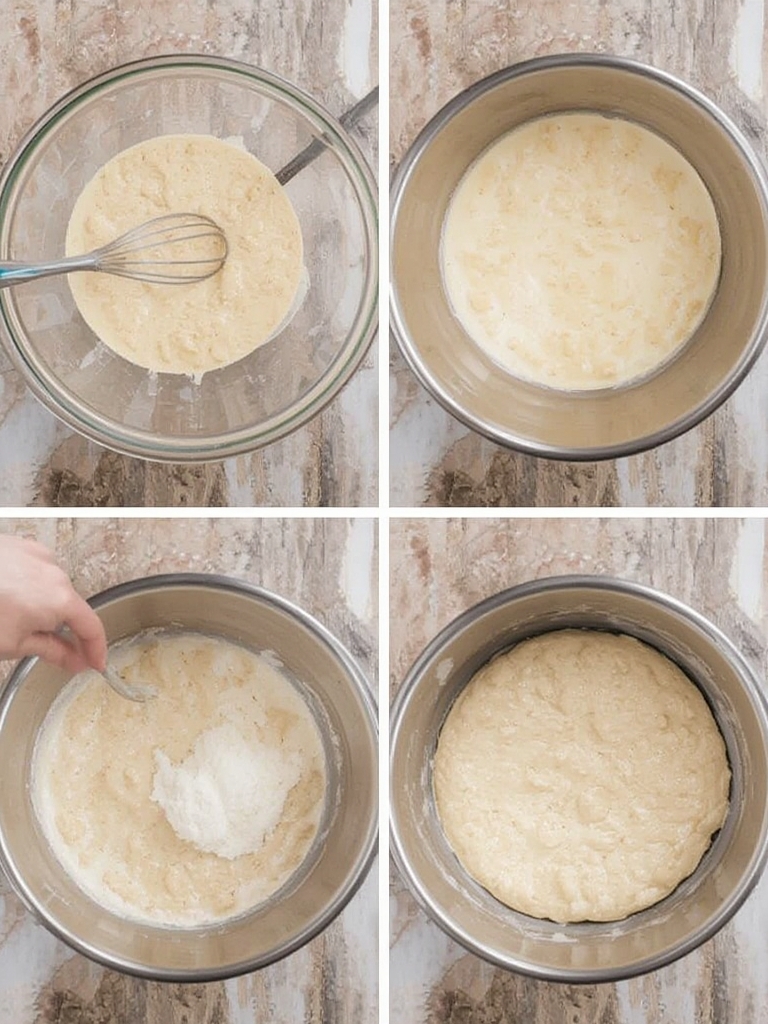
Step 1: Create Your Initial Mix
Combine 100g (approximately 3/4 cup) of flour and 100ml (approximately 1/2 cup) of water in a clean glass or ceramic container. Mix until no dry flour remains – the consistency should resemble thick pancake batter. Cover loosely with a cloth or lid (not airtight) and place in a warm spot (around 70-75°F/21-24°C).
Pro Tip: Adding a tiny pinch of existing sourdough starter from a friend can accelerate the process, though it’s not necessary for success.
Step 2: First Feeding (24 Hours Later)
After 24 hours, you might see some bubbles forming – that’s good! Discard half of your mixture (about 100g), then add another 100g flour and 100ml water. Mix thoroughly and cover again. The discard helps maintain a manageable size and balanced acidity.
Pro Tip: Use a rubber band around your jar to mark the starting level – this visual indicator helps you track fermentation progress.
Step 3: Establish a Feeding Routine
Repeat Step 2 daily for the next 3-5 days. Each day, your starter should become more active, showing more bubbles and beginning to develop that characteristic tangy aroma. By day 5-7, it should double in volume within 6-8 hours of feeding – a sign it’s nearly ready for making sourdough bread!
Pro Tip: If your home is cool, try placing your starter near (not on) a warm appliance or wrap the jar in a kitchen towel for insulation.
Step 4: Test for Readiness
Your starter is ready when it consistently doubles within 4-8 hours after feeding, has a pleasant sour smell (not overly acidic or alcohol-like), and passes the “float test”: drop a small spoonful into a glass of water – if it floats, it’s ready for baking!
Pro Tip: Take notes during this process – ambient temperature significantly affects fermentation speed, and your notes will help you develop an optimal schedule.
Step 5: Maintain Your Mature Starter
Once mature, you can refrigerate your starter and reduce feedings to once a week. Remove from the refrigerator, discard half, feed, and let sit at room temperature for 2-4 hours before refrigerating again. When planning to bake, refresh with 2-3 feedings at room temperature first.
Pro Tip: Establish a regular baking schedule to maintain a healthy starter with minimal waste.
Nutritional Information
Per 1/4 cup of mature starter (approximate values):
- Calories: 80
- Protein: 3g
- Carbohydrates: 16g
- Fat: 0.5g
- Fiber: 0.5g
- Contains B vitamins and beneficial bacteria from fermentation
Healthier Alternatives for the Recipe
- Whole Grain Version: Replace 25-50% of all-purpose flour with whole wheat, spelt, or rye flour for increased nutrition
- Gluten-Free Option: Create a starter with equal parts brown rice flour and sorghum flour with a tablespoon of psyllium husk
- Lower-Waste Approach: Use discarded starter in pancakes, waffles, or crackers to eliminate waste
Serving Suggestions
- Use your mature starter to create artisanal beginner bread recipes, pizza dough, or focaccia
- Add fresh herbs or roasted garlic to your bread dough for flavor variations
- Serve fresh sourdough with cultured butter and sea salt for a simple yet impressive appetizer
- Pair sourdough bread with hearty soups, stews, or as the foundation for gourmet grilled cheese
Common Mistakes to Avoid
- Inconsistent Feedings: Irregular feeding schedules can weaken your starter
- Airtight Containers: Never seal your starter completely – it needs to breathe
- Using Cold Water: Always use room temperature water for optimal fermentation
- Impatience: The process takes time; rushing can result in underdeveloped flavor
- Incorrect Measurements: For consistent results, measure ingredients by weight rather than volume
Storing Tips for the Recipe
- Store mature starter in the refrigerator in a glass container with a loose-fitting lid
- A starter can remain dormant in the refrigerator for 2-3 weeks without feeding
- For longer storage, dry your starter on parchment paper, then break into flakes and store in an airtight container for up to a year
- To revive a dried starter, rehydrate with equal parts water and feed with fresh flour
Conclusion
Creating your own Sourdough Starter is more than just a cooking project—it’s an introduction to the ancient art of fermentation that connects you to thousands of years of baking tradition. The process might seem lengthy, but the reward of pulling your first perfectly crusty, tangy sourdough loaf from the oven makes it all worthwhile. Remember that your starter is a living culture that improves with time and care, developing more complex flavors the longer you maintain it. Why not start your sourdough journey today? Your future bread-making self will thank you!
FAQs
How do I know if my starter has gone bad?
Your starter should smell pleasantly sour or yogurt-like. If it develops a pink or orange tint, smells like nail polish remover, or has visible mold, it’s best to discard it and start fresh.
Can I use my starter right after feeding it?
For best results, use your starter when it’s at peak activity—usually 4-8 hours after feeding, when it has doubled in size and is full of bubbles.
Why do I need to discard part of my starter during feeding?
Discarding prevents your starter from growing too large and maintains the proper acid balance. The discard portion can be used in pancakes, crackers, or other “discard recipes.”
How often should I bake to keep my starter healthy?
While weekly baking is ideal, you can maintain a healthy starter with less frequent baking. Just be sure to refresh it with 1-2 feedings before using it after a period of refrigeration.
Can I create a starter with just whole wheat flour?
Yes! Whole wheat flour often ferments more quickly due to higher natural yeast content. However, it may produce a stronger flavor and might require more frequent feedings due to faster fermentation.