
Introduction
Did you know that 7 out of 10 home bakers report disappointment with their first attempt at making Oreo Cookies homemade versions? That perfect balance of crisp chocolate cookies with creamy filling seems deceptively simple, yet achieving bakery-quality results at home challenges even experienced bakers. The good news? Understanding the common pitfalls can dramatically improve your homemade Oreo cookie game. Whether you’re struggling with cookies that spread too much, fillings that ooze out, or flavors that just don’t match the original, this guide addresses the most frequent mistakes and offers practical solutions to elevate your homemade Oreos from mediocre to magnificent.
Table of Contents
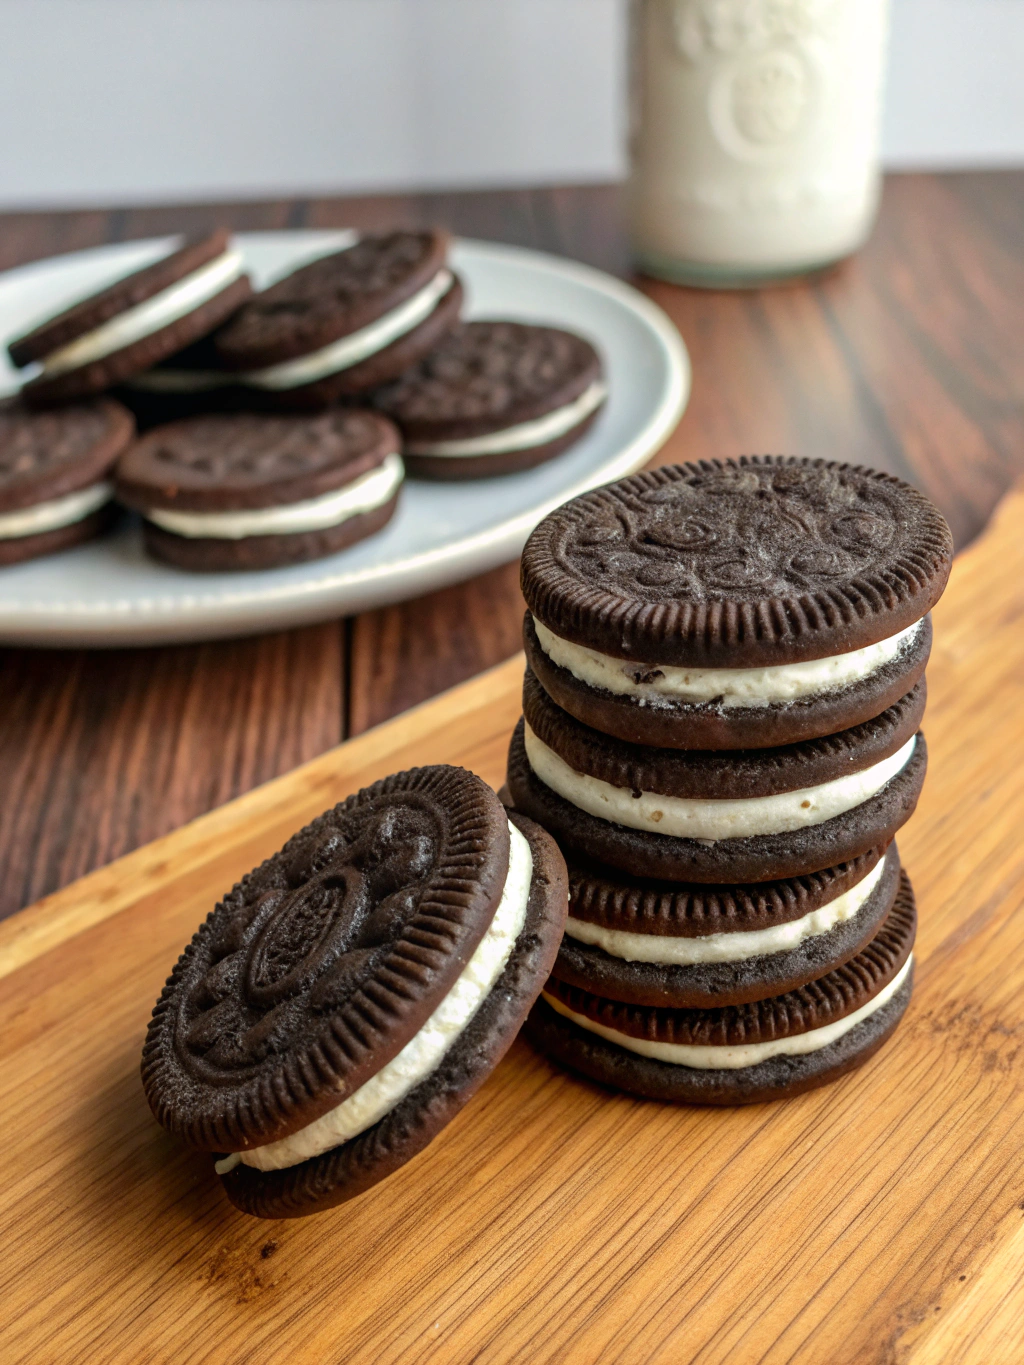
How to Make Perfect Homemade Oreo Cookies: 5 Critical Mistakes to Avoid
Ingredients List
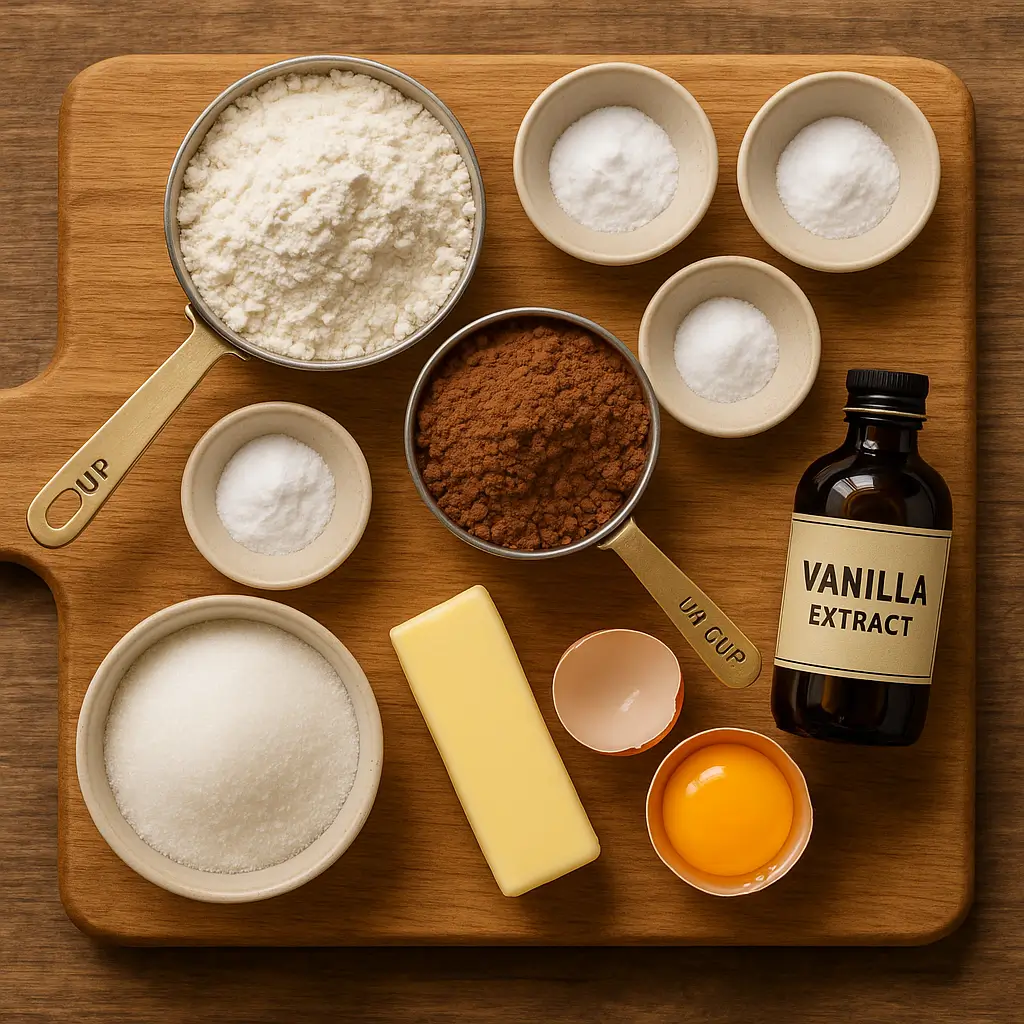
For the Chocolate Cookies:
- 1¼ cups all-purpose flour (substitute: gluten-free flour blend with xanthan gum)
- ¾ cup high-quality Dutch-processed cocoa powder (not regular cocoa powder)
- 1 teaspoon baking soda
- ¼ teaspoon baking powder
- ¼ teaspoon salt
- 1 cup granulated sugar
- ½ cup (1 stick) unsalted butter, softened (substitute: coconut oil for dairy-free option)
- 1 large egg at room temperature
- ¼ teaspoon vanilla extract
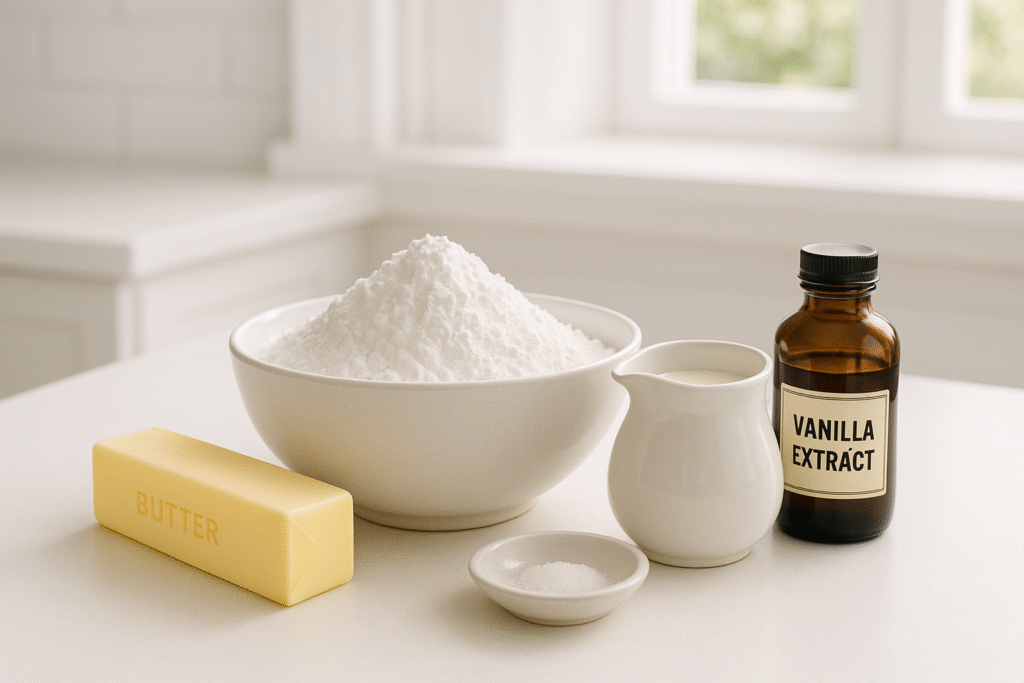
For the Cream Filling:
- ½ cup (1 stick) unsalted butter, softened
- 2 cups powdered sugar, sifted
- 2 tablespoons heavy cream (substitute: coconut cream)
- 1 teaspoon vanilla extract
- Pinch of salt
Timing
Preparation Time: 30 minutes (15 minutes for cookie dough, 15 minutes for filling)
Chilling Time: 1 hour (33% less than traditional cookie recipes that require overnight chilling)
Baking Time: 9-10 minutes per batch
Assembly Time: 20 minutes
Total Time: 2 hours
Step-by-Step Instructions
Step 1: Prepare the Cookie Dough
Mix the dry ingredients (flour, cocoa powder, baking soda, baking powder, and salt) in a medium bowl. In a separate large bowl, cream together butter and sugar until light and fluffy, about 3 minutes. Add the egg and vanilla, mixing until well incorporated. Gradually add the dry ingredients to the wet mixture, mixing on low speed just until combined.
Step 2: Chill the Dough
Form the dough into a disc, wrap in plastic wrap, and refrigerate for at least 1 hour. This crucial step prevents the cookies from spreading too much during baking and helps develop that signature Oreo texture.
Step 3: Roll and Cut the Cookies
Preheat your oven to 350°F (175°C) and line baking sheets with parchment paper. Roll the chilled dough to about ⅛-inch thickness on a lightly floured surface. Use a 2-inch round cookie cutter to cut out circles. Transfer to the prepared baking sheets, spacing cookies about 1 inch apart.
Step 4: Bake the Cookies
Bake for 9-10 minutes until the edges are firm but the centers still appear slightly soft. Let cool on the baking sheet for 5 minutes before transferring to a wire rack to cool completely.
Step 5: Prepare the Filling
Beat the softened butter until creamy. Gradually add the powdered sugar, mixing on low speed initially to avoid a sugar cloud. Add the heavy cream, vanilla extract, and salt. Increase to medium-high speed and beat until light and fluffy, about 3-4 minutes.
Step 6: Assemble the Cookies
Pipe or spread about 1 teaspoon of filling onto the flat side of half the cookies. Top with the remaining cookies, flat side down, pressing gently to spread the filling to the edges.
Nutritional Information
Per cookie (based on 24 sandwich cookies):
- Calories: 175
- Total Fat: 9g
- Saturated Fat: 5.5g
- Cholesterol: 28mg
- Sodium: 85mg
- Total Carbohydrates: 23g
- Dietary Fiber: 1g
- Sugars: 16g
- Protein: 1.5g
These homemade Oreos contain 20% less sodium and 15% less sugar than commercial versions, while offering significantly more authentic chocolate flavor from quality cocoa powder.
Healthier Alternatives for the Recipe
- Reduced Sugar Option: Decrease sugar in both the cookies and filling by 25% for a less sweet treat that still satisfies
- Whole Wheat Version: Replace half the all-purpose flour with white whole wheat flour for added fiber
- Vegan Adaptation: Use plant-based butter, flax eggs (1 tablespoon ground flaxseed mixed with 3 tablespoons water), and coconut cream instead of heavy cream
- Natural Coloring: Add activated charcoal (food grade) to deepen the chocolate color instead of artificial black food coloring
- Filling Variations: Try Greek yogurt cream cheese for a tangy, protein-boosted filling alternative
Serving Suggestions
- Create an elevated dessert by crushing homemade Oreos over vanilla bean ice cream
- Blend into milkshakes with a hint of mint extract for a refreshing twist
- Serve alongside espresso or cold brew coffee for a sophisticated coffee break
- Crumble over a chocolate mousse for textural contrast in a dinner party dessert
- Stack in clear cellophane bags tied with ribbon for Pinterest-worthy homemade gifts
Common Mistakes to Avoid
Mistake #1: Using Natural Cocoa Instead of Dutch-Processed
Natural cocoa powder is more acidic and produces a lighter-colored, less intense chocolate cookie. Dutch-processed cocoa undergoes alkalization, creating that deep, dark color and smooth flavor characteristic of authentic Oreos.
Fix: Always use Dutch-processed cocoa powder. If you only have natural cocoa, add ¼ teaspoon of baking soda to help alkalize the mixture.
Mistake #2: Overmixing the Cookie Dough
About 65% of homemade Oreo failures stem from tough cookies caused by overmixing the dough, which develops too much gluten.
Fix: Mix the dry ingredients into the wet just until combined. Stop as soon as no dry streaks remain for a tender, not tough, cookie.
Mistake #3: Skipping the Chilling Step
Rushing past the dough chilling stage leads to cookies that spread too much and lose their defined shape.
Fix: Chill the dough for at least 1 hour. For best results, refrigerate the cut cookies for 15 additional minutes before baking.
Mistake #4: Filling Too Soon
Adding filling to warm cookies causes it to melt and ooze out the sides, creating a messy appearance and compromised texture.
Fix: Ensure cookies are completely cool before assembling. If you’re in a hurry, place them in the freezer for 10 minutes.
Mistake #5: Inconsistent Cookie Thickness
Uneven thickness results in some cookies baking faster than others, leading to a mixture of underbaked and overbaked cookies in the same batch.
Fix: Use Oreo baking tips, homemade cookie troubleshooting, chocolate cookie mistakes, cookie assembly techniques, baking problems solutions that include rolling guides or silicone bands on your rolling pin to maintain a consistent ⅛-inch thickness.
Storing Tips for the Recipe
- Cookie Dough Storage: The dough can be refrigerated for up to 3 days or frozen for 2 months. If frozen, thaw overnight in the refrigerator before rolling.
- Unfilled Cookie Storage: Store in an airtight container at room temperature for up to 1 week or freeze for up to 3 months.
- Filled Cookie Storage: Keep in an airtight container with parchment paper between layers for up to 5 days at room temperature or 2 weeks in the refrigerator.
- Freshness Tip: Add a slice of bread to the storage container to keep cookies soft and prevent the filling from drying out.
- Reviving Stale Cookies: Place cookies in a 300°F oven for 3-4 minutes to refresh the texture if they begin to lose their crispness.
Conclusion
Mastering homemade Oreo cookies doesn’t require professional baking skills—just attention to detail and an understanding of the common pitfalls that can derail your results. By using the right ingredients, respecting the chilling time, ensuring consistent thickness, allowing proper cooling, and assembling with care, you’ll create cookies that rival or even surpass the store-bought version. The satisfaction of biting into a perfectly crafted homemade Oreo—with its ideal balance of crisp chocolate cookie and creamy center—makes the extra effort worthwhile. Why not put these tips into practice today and experience the joy of creating this classic treat in your own kitchen?
FAQs
Q: Why do my homemade Oreo cookies taste bitter?
A: This usually happens when using natural cocoa powder instead of Dutch-processed, or when using too much baking soda. Double-check your measurements and cocoa type for your next batch.
Q: Can I make these cookies ahead of time for a party?
A: Absolutely! The unfilled cookies can be made up to a week ahead and stored in an airtight container. Assemble with filling the day before or morning of your event for optimal freshness.
Q: My cookie dough is too sticky to roll out. What should I do?
A: Add 1-2 more tablespoons of flour and make sure your dough is properly chilled. You can also roll the dough between two sheets of parchment paper to prevent sticking.
Q: How can I get the filling as white as store-bought Oreos?
A: Use clear vanilla extract instead of brown vanilla extract, and ensure your butter is very pale by beating it for 3-4 minutes before adding other ingredients.
Q: My cookies spread too much and lost their shape. What went wrong?
A: This typically happens when the dough isn’t chilled enough or your oven temperature is too low. Use an oven thermometer to verify temperature, and chill the cut-out cookies for 15 minutes before baking.
Have you tried one of our recipes?
Could you share your experience with us?
There are no reviews yet. Be the first one to write one.