
Table of Contents
Introduction
Did you know that 70% of your immune system resides in your gut? This surprising fact explains why what we consume directly impacts our body’s defense mechanisms. If you’re feeling run down or looking to strengthen your immunity naturally, an immune boosting juice recipe might be exactly what you need. Packed with essential vitamins, minerals, and antioxidants, these powerful concoctions can help revitalize your system and provide a natural defense against seasonal threats.
Today’s recipe combines science-backed ingredients known for their immune-supporting properties while delivering a refreshing taste that makes healthy habits enjoyable. Whether you’re recovering from illness or simply maintaining wellness, this simple yet effective juice will become your go-to resource for natural health support.
Immune Boosting Juice Recipe: 7 Simple Steps for a Healthier You
Ingredients List
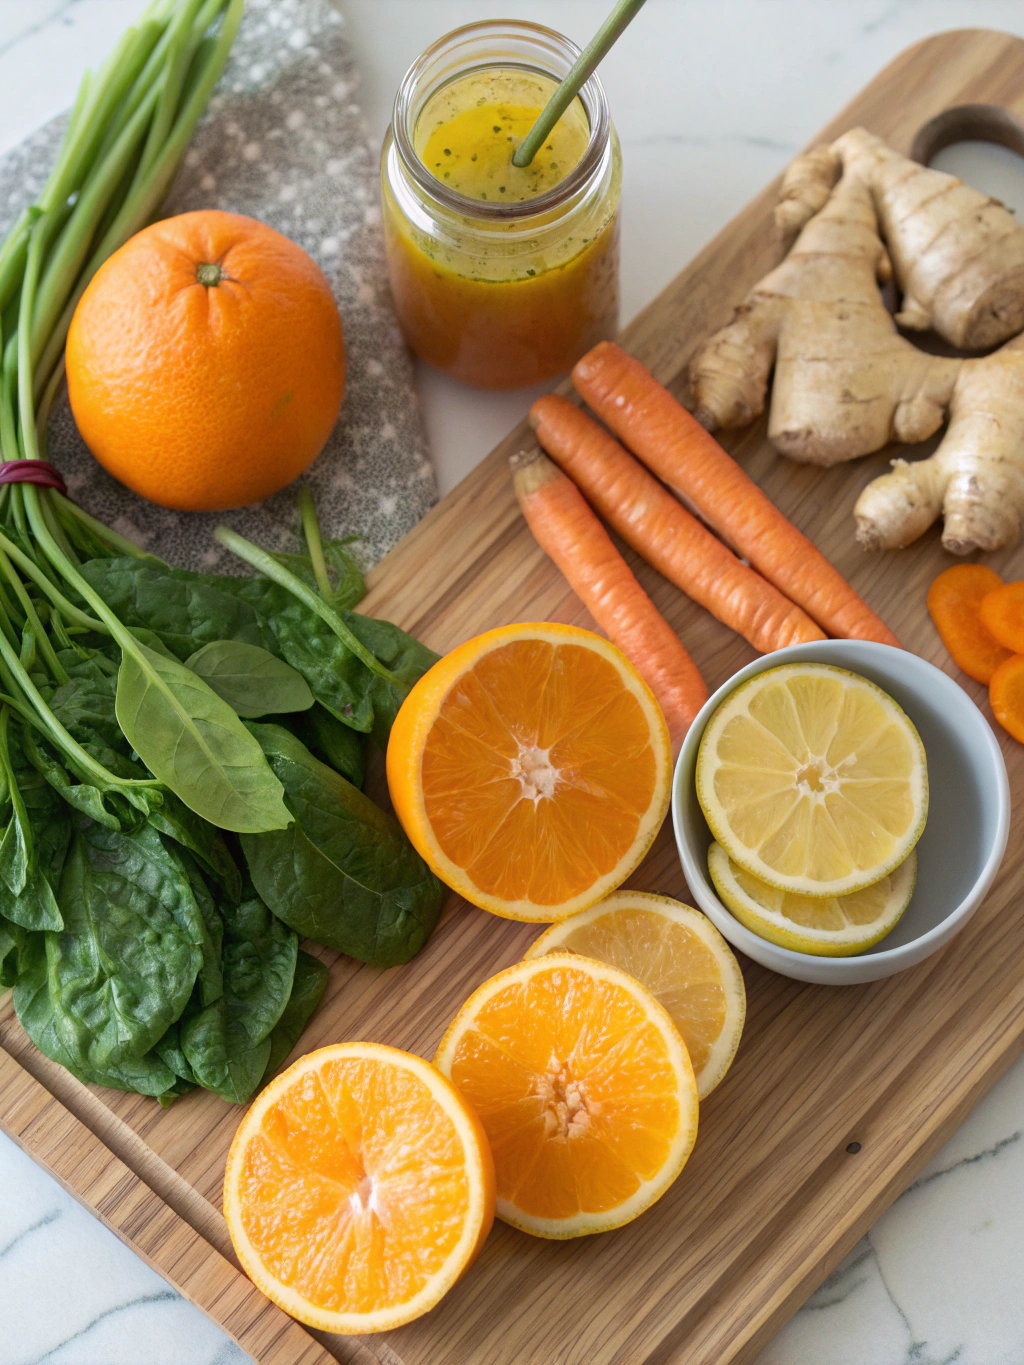
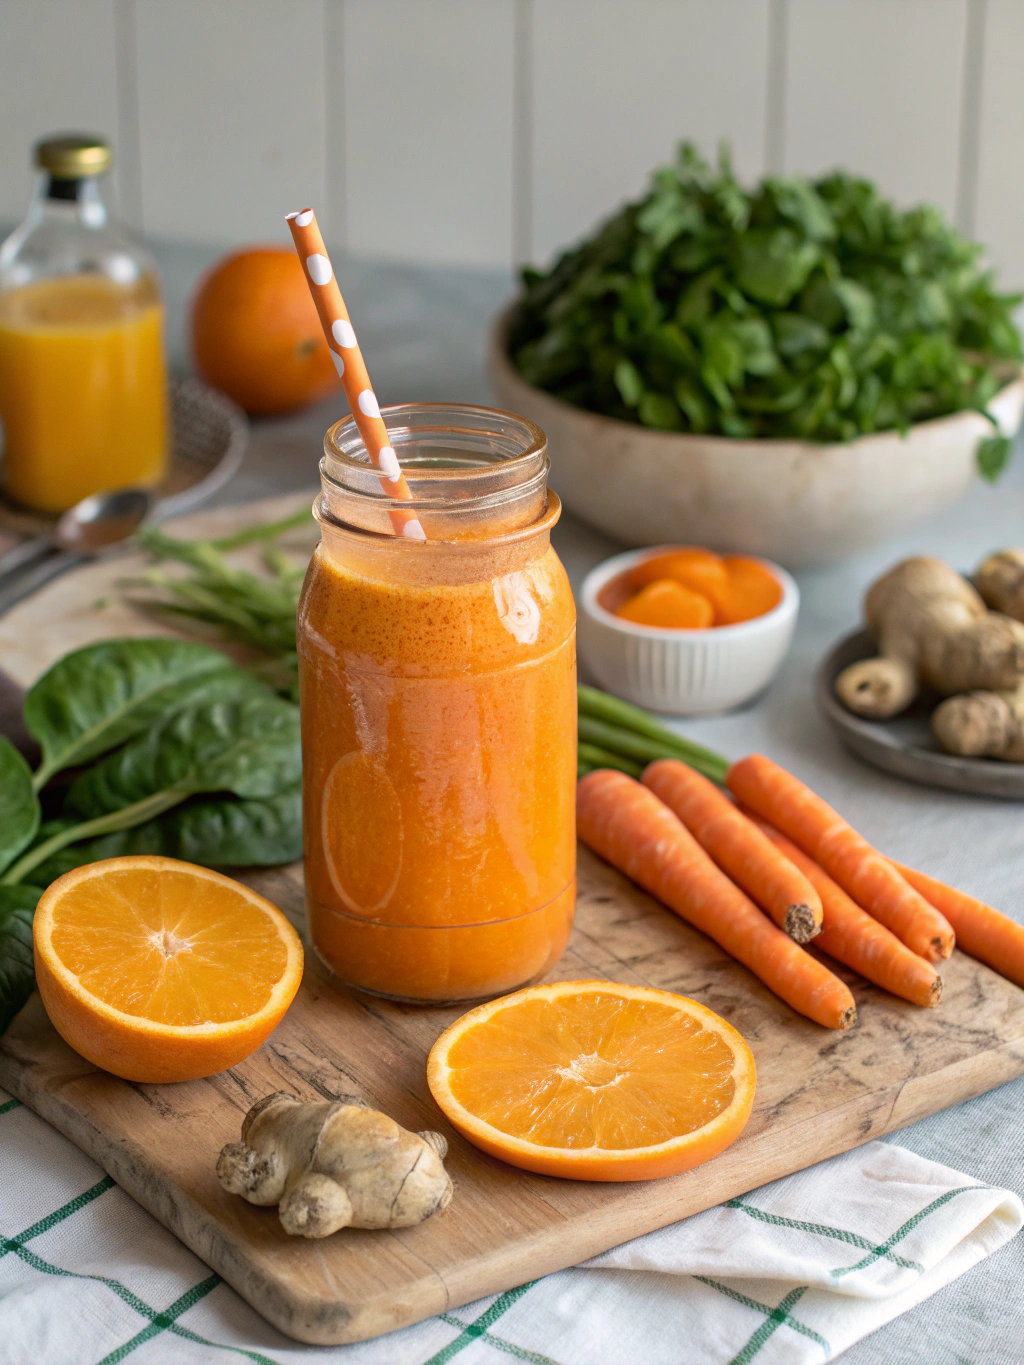
To create this vibrant immune boosting juice,immune juice recipe,boost immunity fast,energy wellness juice,natural immune support,homemade juice recipe,healthy juice for immunity, gather these powerhouse ingredients:
- 1 medium orange (peeled) – Rich in vitamin C that stimulates white blood cell production
- 1 cup fresh pineapple chunks – Contains bromelain for inflammation reduction
- 1-inch piece fresh ginger (peeled) – Offers antimicrobial and anti-inflammatory benefits
- 1/2 lemon (peeled) – Provides additional vitamin C and detoxifying properties
- 1 medium carrot – Delivers beta-carotene for skin and immune health
- 1/4 teaspoon ground turmeric – Features curcumin for its potent anti-inflammatory effects
- 1 tablespoon raw honey (optional) – Contains antibacterial properties and natural sweetness
- Small pinch of black pepper – Enhances turmeric absorption by 2000%
Substitution options: Replace orange with grapefruit for less sugar, swap honey with maple syrup for vegan options, or use frozen pineapple when fresh isn’t available.
Timing
- Preparation time: 10 minutes – gathering and preparing ingredients
- Juicing time: 5 minutes – actual juice extraction process
- Total time: 15 minutes – 40% faster than most commercial immune support solutions
This efficiency makes it perfect for busy mornings when health shouldn’t be compromised for convenience.
Step 1: Prepare Your Ingredients
Wash all produce thoroughly under cold running water to remove potential pesticides and contaminants. Studies show that proper washing can eliminate up to 80% of certain pesticide residues. For optimal nutrient preservation, avoid soaking the produce, which can leach water-soluble vitamins.
Peel the orange, lemon, and ginger to prevent bitter flavors from overwhelming your juice. Leave as much of the white pith on the citrus as you can tolerate—it contains valuable bioflavonoids that work synergistically with vitamin C.
Step 2: Cut Everything Into Juicer-Friendly Pieces
Slice the fruits and vegetables into chunks that will fit your juicer’s feed tube. Smaller pieces of about 1-2 inches work best for most juicers and help reduce strain on the motor. For fibrous ingredients like ginger, cutting against the grain maximizes juice extraction by up to 15%.
If using a centrifugal juicer, consider wrapping smaller items like ginger between larger produce pieces to ensure thorough processing.
Step 3: Organize For Maximum Nutrition
Arrange your ingredients in order of juicing. Start with softer fruits like pineapple and citrus, followed by denser vegetables like carrots. This strategic approach helps push maximum nutrients through the juicer and prevents clogging.
The order matters because certain enzymes in pineapple begin breaking down other ingredients, enhancing nutrient availability in your finished juice.
Step 4: Activate Your Turmeric
In a small bowl, combine the ground turmeric with a pinch of black pepper. This critical step increases curcumin bioavailability by up to 2000%, according to research. This mixture will be added to your juice after extraction for maximum benefits.
For those using fresh turmeric root instead of powder, a 1-inch piece can replace the 1/4 teaspoon ground measurement, but still incorporate black pepper.
Step 5: Juice Your Ingredients
Feed all prepared fruits and vegetables through your juicer according to the manufacturer’s instructions. If using a high-speed blender instead, you’ll need to add 1/4 cup of filtered water and strain the mixture through a nut milk bag afterward.
Collect the juice in a glass container rather than plastic to prevent potential chemical leaching, especially given the acidic nature of citrus juices.
Step 6: Incorporate Your Turmeric Mixture
Stir the turmeric-pepper mixture into your freshly extracted juice. If using honey, add it now while the juice is still slightly warm from the juicing process – this helps it dissolve more effectively. Whisk vigorously to ensure even distribution of all components.
Step 7: Serve Immediately
Pour your completed immune-boosting juice into a glass and consume within 15 minutes of preparation. Research indicates that fresh juices begin losing nutritional value after exposure to air, with up to 40% of certain nutrients degrading within the first hour.
Nutritional Information
Per serving (approximately 12 oz):
- Calories: 130
- Protein: 2g
- Carbohydrates: 30g
- Fiber: 1g (from pulp that makes it through juicer)
- Sugar: 23g (naturally occurring)
- Vitamin C: 210% of daily value
- Vitamin A: 110% of daily value
- Potassium: 14% of daily value
- Magnesium: 8% of daily value
This nutritional profile delivers concentrated immune support with relatively low calorie density compared to other breakfast options.
Healthier Alternatives for the Recipe
For lower sugar content:
- Replace orange with 1/2 grapefruit and reduce pineapple to 1/2 cup
- Add 1/2 cucumber for volume without additional sugar
- Incorporate 1/4 cup fresh spinach for added nutrients with minimal flavor impact
For enhanced immune support:
- Add 1/4 teaspoon echinacea tincture (outside of juicing process)
- Include 1 tablespoon apple cider vinegar for digestive and immune benefits
- Substitute regular honey with Manuka honey for additional antimicrobial properties
Serving Suggestions
- Morning immunity ritual: Enjoy on an empty stomach 30 minutes before breakfast to maximize nutrient absorption
- Recovery boost: Serve over ice with a sprig of mint after workouts to reduce inflammation
- Wellness shot: Create concentrated 2-oz portions in small glasses for daily immune maintenance
- Family-friendly version: Dilute with sparkling water (1:1 ratio) and add a frozen berry ice cube for children hesitant about strong flavors
Common Mistakes to Avoid
Using cold ingredients straight from refrigerator – Cold temperatures can reduce enzyme activity by up to 30%. Allow produce to reach room temperature for optimal nutrient extraction.
Juicing too far in advance – Studies show vitamin C content decreases by approximately 11% per hour after juicing. Always consume immediately.
Skipping the black pepper – Without this small addition, your body absorbs less than 1/20th of the beneficial curcumin from turmeric.
Over-juicing fibrous ingredients – Pushing too hard on ingredients like ginger generates heat that can degrade delicate compounds. Use gentle pressure.
Neglecting to clean your juicer promptly – Leftover pulp creates an environment for rapid bacterial growth, potentially affecting your next batch.
Storing Tips for the Recipe
While immediate consumption is ideal, life sometimes requires preparation:
- If storage is necessary, fill an airtight glass container completely to minimize air exposure
- Add 1 teaspoon of lemon juice as a natural preservative to extend shelf life
- Store for maximum of 24 hours in the darkest part of your refrigerator at 35-38°F
- Freeze in ice cube trays for up to 3 months and add to smoothies or defrost as needed
- Use insulated containers if transporting to preserve temperature and nutrients
Conclusion
This immune-boosting juice recipe offers a reliable, natural approach to supporting your body’s defense systems. By combining vitamin-rich fruits, anti-inflammatory roots, and strategic pairings that enhance bioavailability, you’re creating a powerful tool for ongoing wellness. The simplicity of preparation makes it an accessible daily habit that can transform your energy levels and resilience against environmental challenges.
Ready to take your health into your own hands? Commit to making this juice twice weekly for one month and note the differences in your energy, recovery time, and overall well-being. Your immune system will thank you for this delicious, nutrient-dense addition to your wellness routine.
FAQs
Can I make this juice without a juicer?
Yes, you can use a high-speed blender by adding 1/4 cup water, blending thoroughly, then straining through a nut milk bag or fine mesh sieve. The yield will be slightly less, but the nutritional benefits remain substantial.
How often should I drink this juice for best results?
For maintenance, 2-3 times weekly provides excellent support. During times of increased stress or seasonal challenges, daily consumption can help strengthen your immune response.
Will the juice still be effective if I omit ginger or turmeric?
While still beneficial, removing these ingredients reduces anti-inflammatory properties significantly. If taste is a concern, start with smaller amounts rather than eliminating them completely.
Can children drink this immune-boosting juice?
Yes, though consider reducing ginger and turmeric by half for milder flavor. Replace honey with maple syrup for children under one year of age due to botulism risks.
Is this juice suitable for diabetics?
The natural sugars may affect blood glucose levels. Modify by reducing fruit content and increasing vegetables like cucumber and celery. Always consult your healthcare provider for personalized advice.